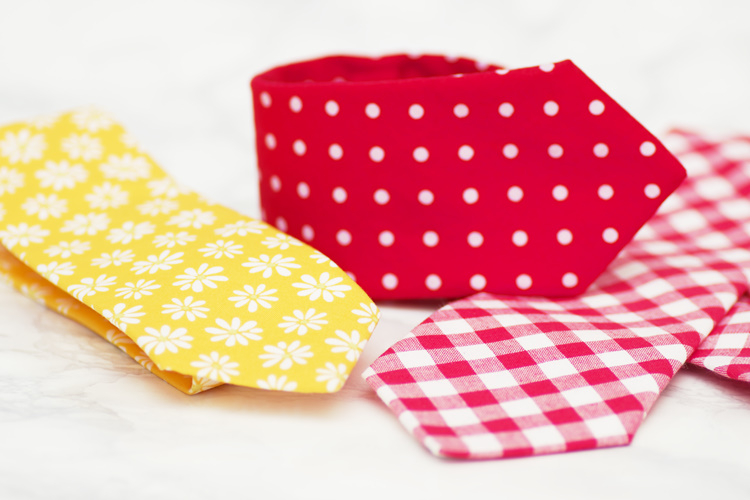
Sewing a tie isn't as hard as it looks. It doesn't even take that much time. The really time consuming part is the hand-stitch at the end. The rest is quick and easy.
The advantage of sewing it yourself, in addition to get to choose the fabric, is the freedom of using other materials than silk. The vast majority of ties offered in the stores are made of silk. Ties made of other fibers are rare and the selection is awfully limited.
So what's wrong with silk ties? Mainly I find silk to be extremely unethical and is probably the most environmental unfriendly clothing fiber out there. Secondly many people, including myself, is not a big fan of shiny fabrics.
Material list
- about 60 x 60 cm fabric
- about 20 x 20 cm lining
- thick fabric for interfacing/stabilizing
You don't need much fabric, so it's a great opportunity to get rid of some left-overs! Almost any kind of fabrics will do, as long as it's not so thick or stiff. Preferable it shouldn't be stretchy either. Normal printed cotton fabrics works just fine!
As interfacing you should use thick, soft fabric with some weight. Thin wool felt should work, the same goes for thick cotton. Personally I had great success with "Minna" from IKEA.
Note that a wide format printer with at least 60cm (24") width is required. Most copy shops can print it for a reasonable price if you ask for black-and-white prints on plain paper.
Another option is to download an A4 version of the tie pattern.
It's printed on 7 sheets of A4 paper. Choose "no scaling", "actual size", "100%" or similar when printing.
Measure the sides of the piece called "Test" and make sure they are 10 x 10 cm.
Cut out all the pieces and tape together 1A to 1A, 1B to 1B and so on.
How to make it
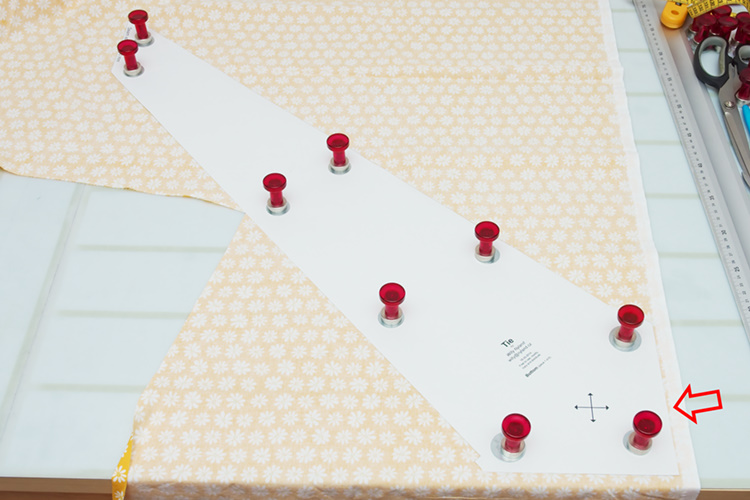 Note! All pieces should be cut on the bias, that is on a 45 degree angle!
The exception is the little keeper on the back. This one can be cut in any direction.
The easiest way I found is to align the tip of the tie with the edge of the fabric (red arrow in picture).
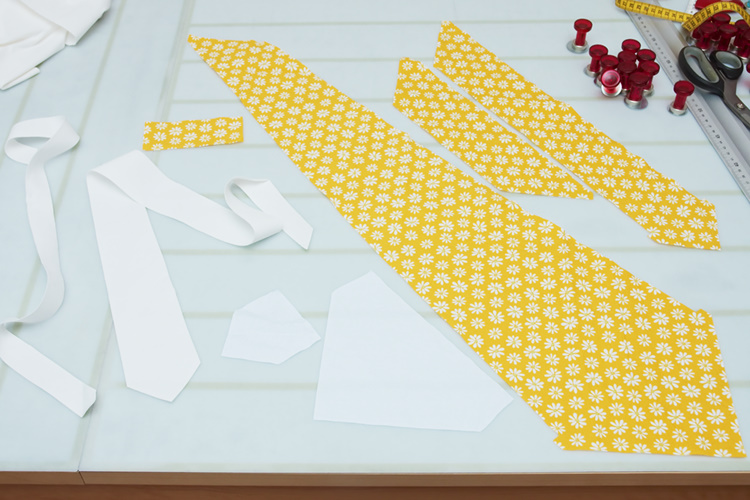 All the pieces cut out.
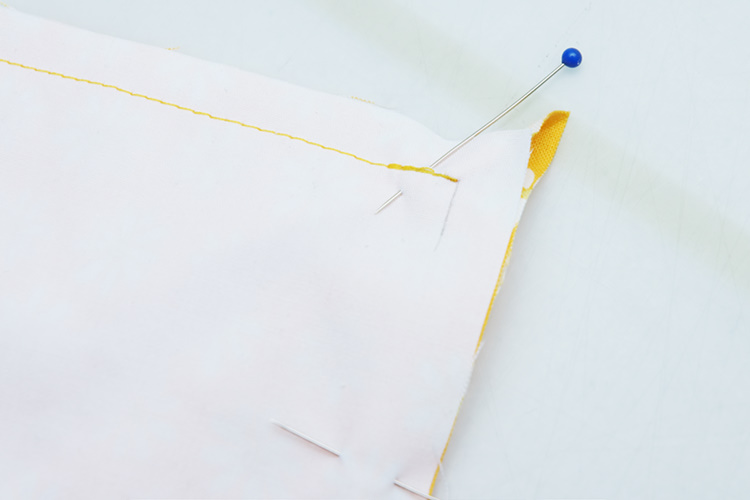
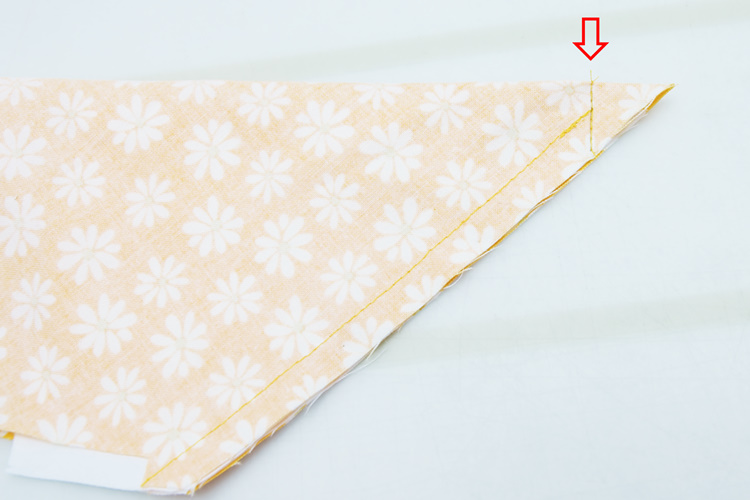
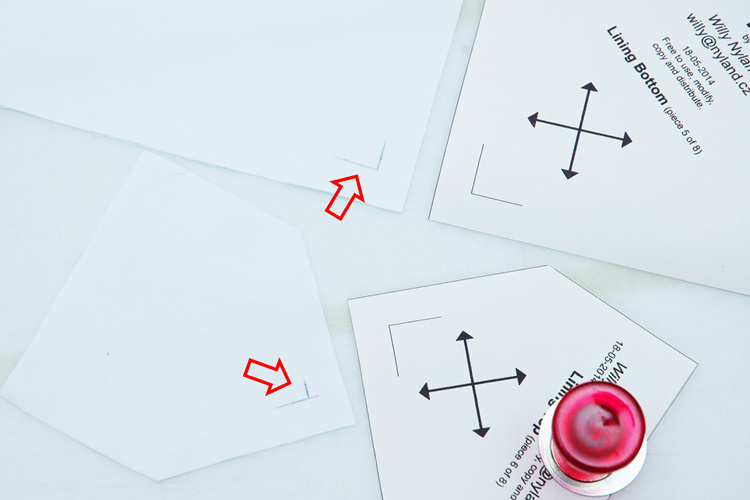 Before moving over to the sewing machine you should mark the corner on the lining.
Measure about 1cm from the edge on the wrong side (see picture).
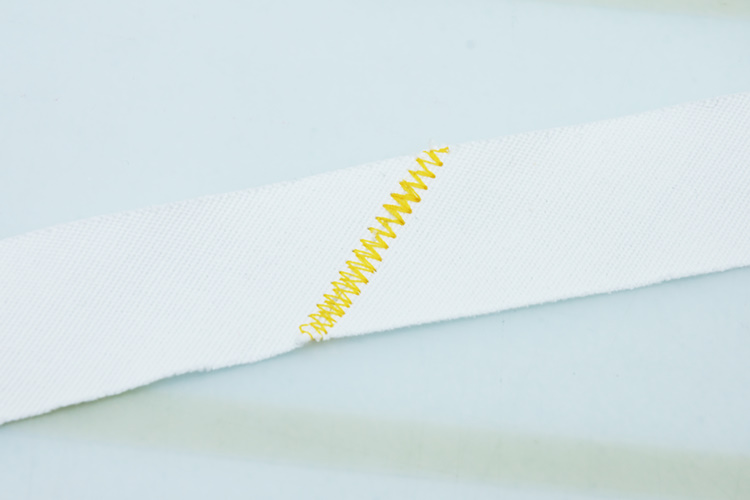 Stitch the interfacing. Lay them flat together and zig-zag over.
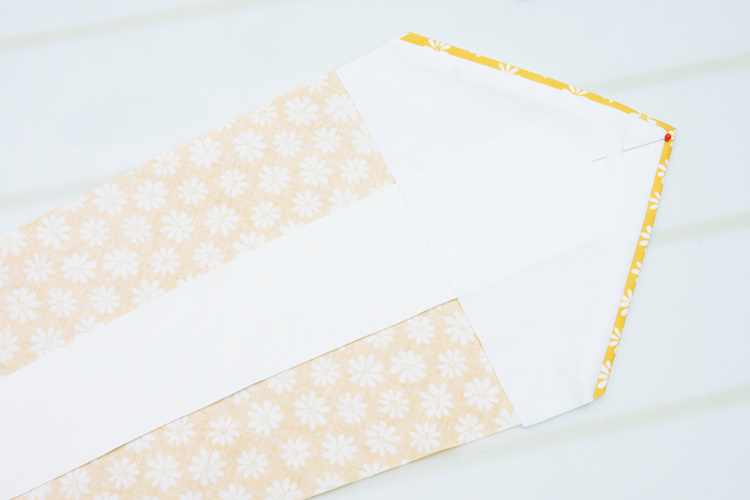
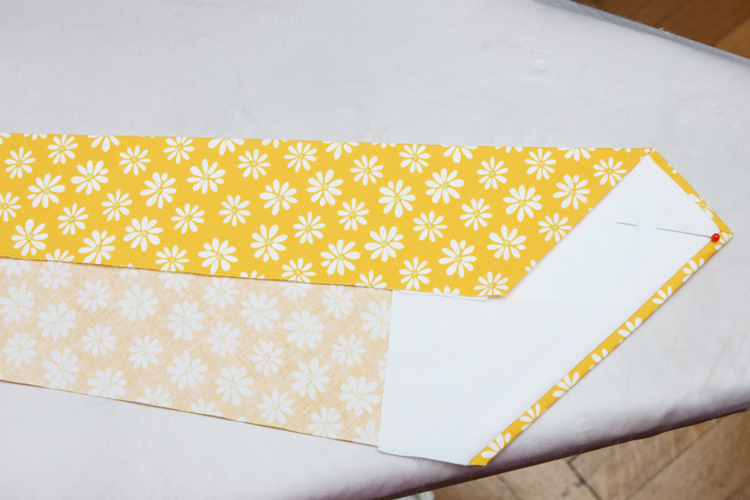
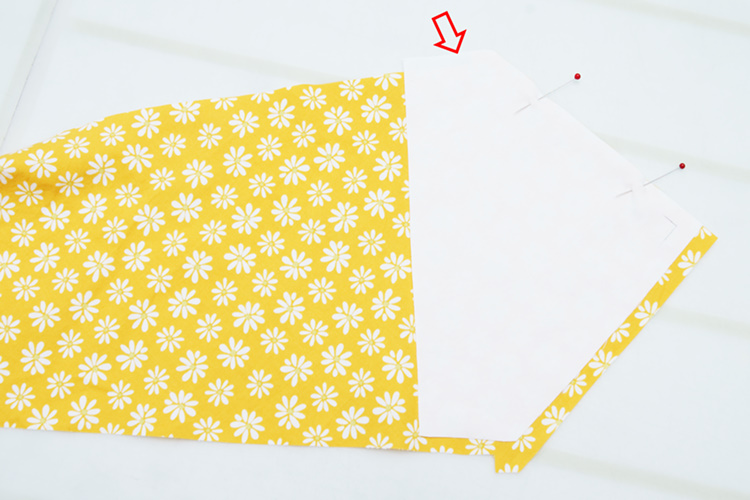 Put the lining on the big end of the tie, right sides together. Lining and main fabric should be aligned at the outer corner (red arrow). The tip of the fabric and lining should be shifted about 1cm.
Sew from the edge to your marking.
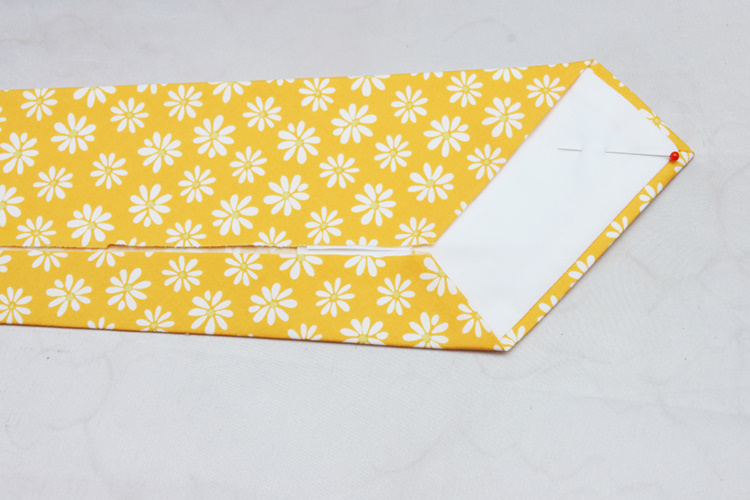
 Fold the tip in order to make the other edge align with the lining.
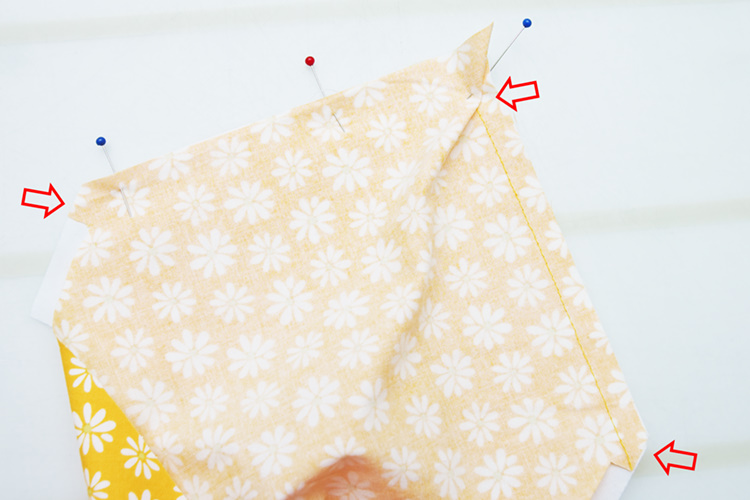 Make sure the fold gets on the side you already stitched (hence out of the way).
Note that the edge on the other side also aligns with the lining.
Stitch from the marking towards the edge (easiest with the lining side up).
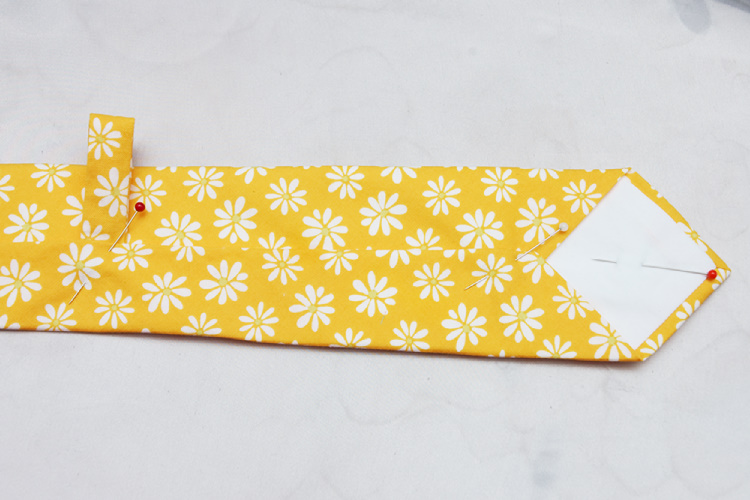
 Fold the tie in half and stitch on a right angle with the fold.
This seam should touch your previous seams.
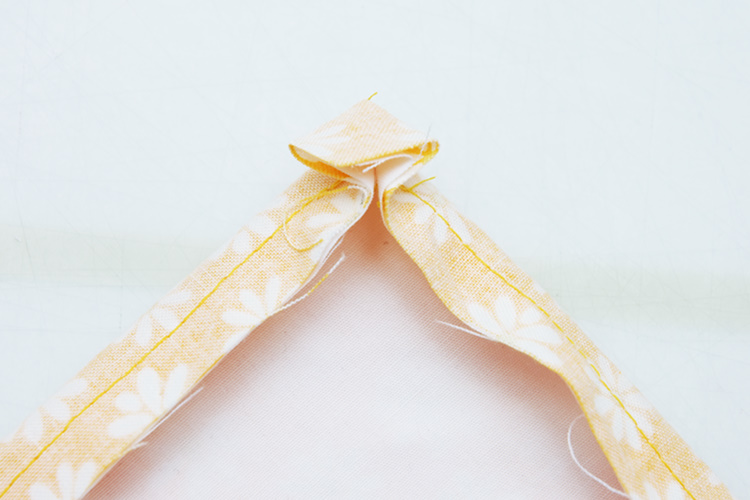 Unfold and press the tip gently with your fingers.
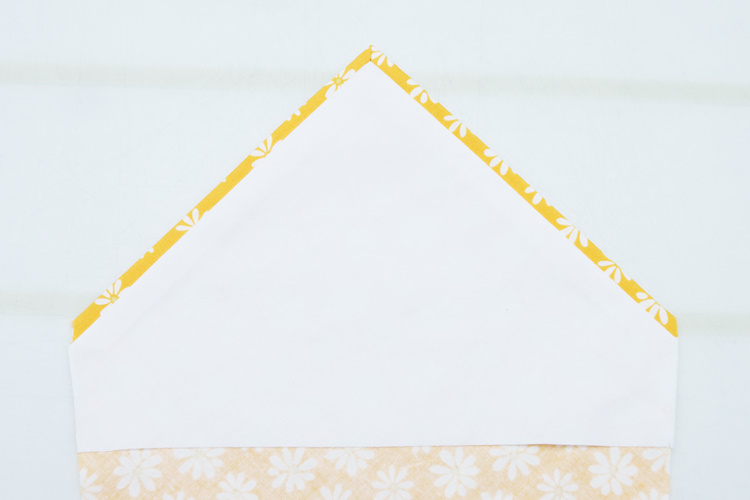 Turn inside out and press. Use a pen or chopstick to make the tip neat and sharp.
Sew the other end (the narrow side) of the tie the same way.
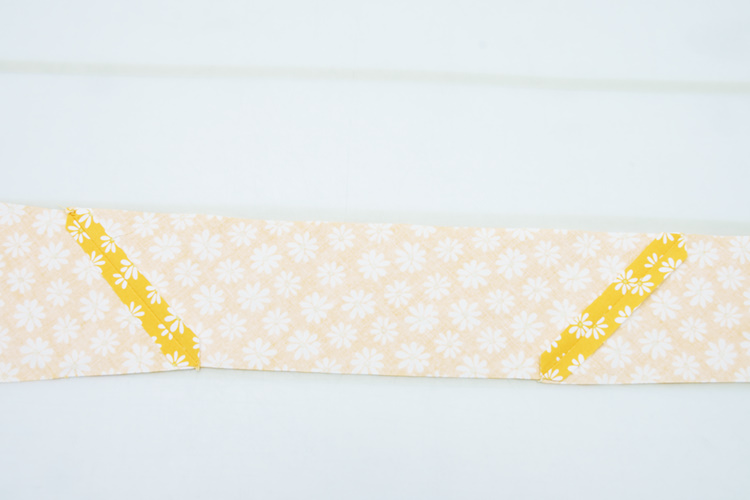
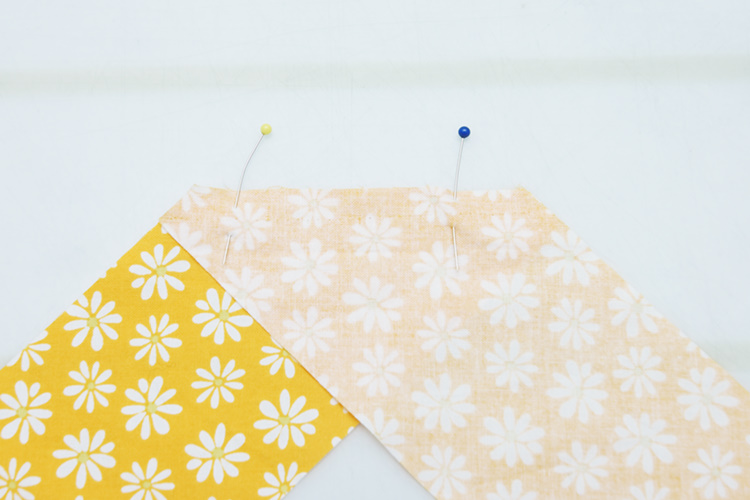 Stitch the upper piece and the lower piece of the tie with the middle one.
Lay the pieces in a right angle when you sew (see picture).
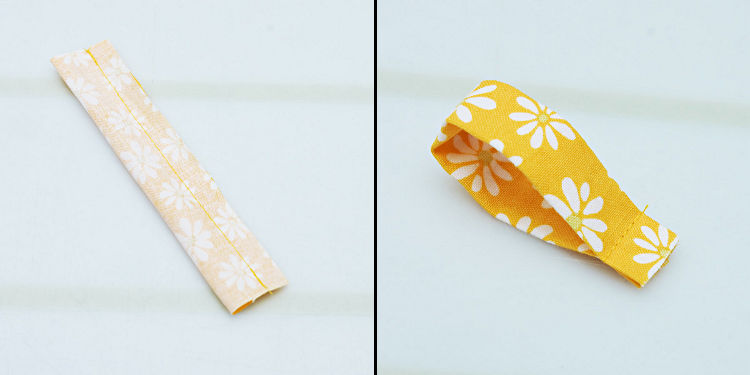
 Press the seam allowance.
 Fold the keeper on the long edge. Sew. Turn inside out. Press.
Fold on the short edge and stitch the ends together.
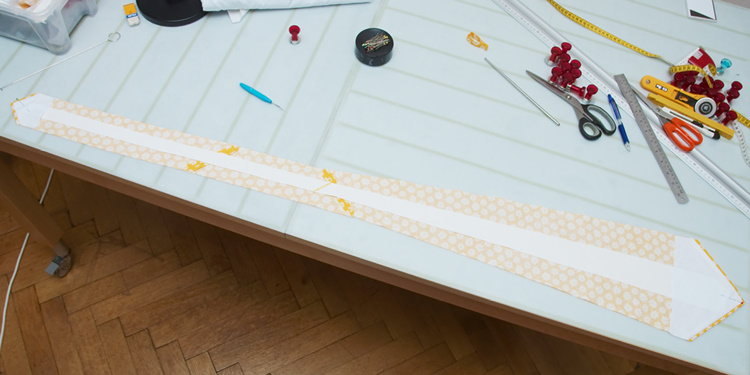
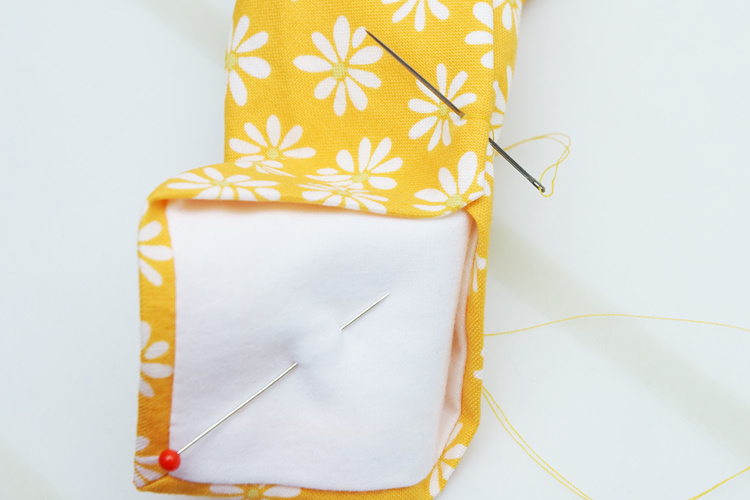
 Put the interface inside the tip. Use your seam ripper to push it as far in as you can.
Pin in place and do the same on the other end of the tie.
 Make sure the interfacing runs in the middle through your whole tie.
Pin in place.
 Fold and press. The fold should start and the edge of the interfacing.
The edge of the fabric should align with the other edge of the interfacing.
Fold and press. The fold should start and the edge of the interfacing.
The edge of the fabric should align with the other edge of the interfacing.
 Fold the other side of the fabric in half. The edge of the fabrics should touch each other.
 Fold along the edge of the interface. Pin in place.
Also tuck in the end of the keeper.
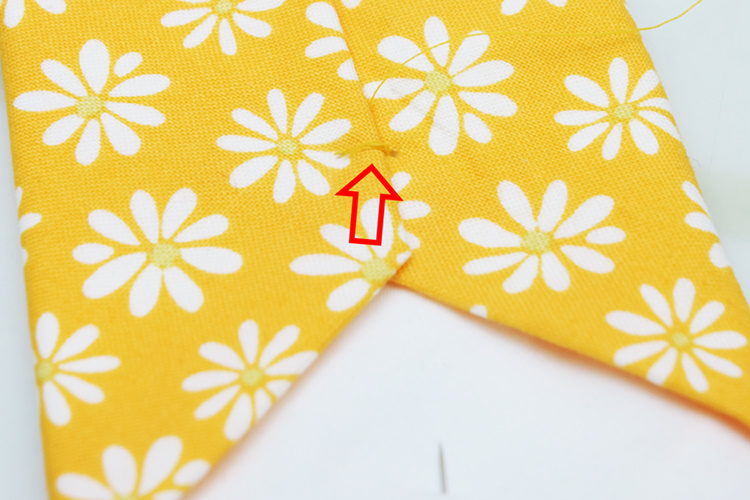
 Hand sew a few rounds at the end of the fold.
Note! This seam should go through the interfacing and secure it, but not out on the front side!
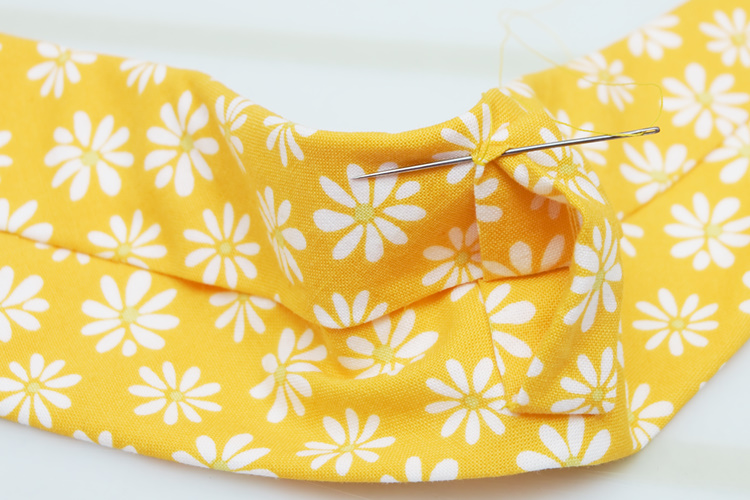
The best way is to fold the tie while you pull out the front side.
Hard to explain. Just look at the picture.
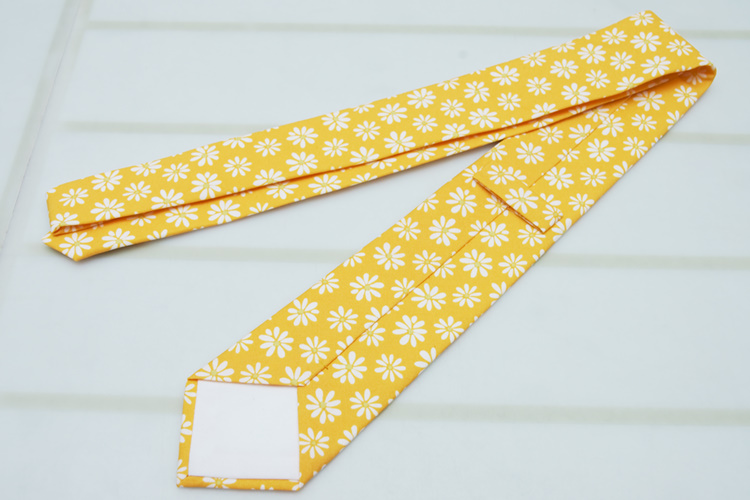
 If done correctly it should look something like this when pressed flat again.
The purpose of this seam is to keep the interface from moving around.
 Hand sew an "invisible" ladder stitch along the whole tie.
Hint: If you pressed the center fold you can use it as a guide for your hand stitching.
 Hand sew the corner of the keeper. Be careful not to punch through to the other side!
 Press the tie. Done!
 OnlyFans
 TikTok
 YouTube